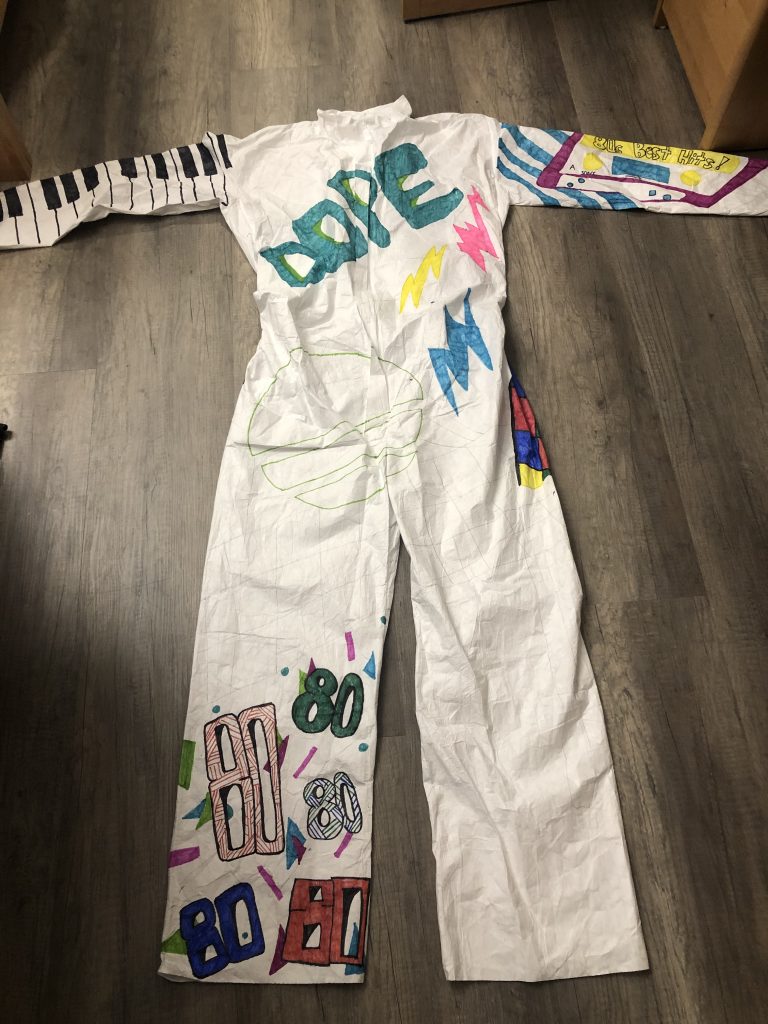
Project description: This project required me to draw a design onto a tyvek suit that incorporated the elements of design and a theme of my choice. The goal was to come up with a composition that encouraged viewers’ eyes to move around the entire suit from the front to the back. A difficulty I anticipated for this project was the fact that I had to think two-dimensionally and three-dimensionally — working on the piece would be done on a flat surface, but the suit will ultimately be displayed on a human body. I knew I had to keep in mind what it would look like being worn while figuring out how to execute and illustrate my idea with a 2D perspective. This was my first time working with tyvek material so I was nervous about what the outcome will look like considering that it would be different from simply drawing on paper. Another challenge I anticipated was drawing big enough to execute my idea accurately and ensuring that the objects were wrapping around enough in order to be visible in both the front and the back.

Research/lateral thinking: To come up with the possible themes I wanted to work with, I did some research to generate some ideas by looking at examples and lists online. For one of the themes, I wanted to explore elements that displayed the beauty of the natural world. I then proceeded to choose a racing/NASCAR theme as I thought that the possible elements within that theme could allow for a dynamic composition with a windy road and checkered pattern. The first theme that I considered inspired me to come up with the theme of metamorphosis and change. I thought that it would be interesting to work with the idea of showing the cycle of a butterfly’s life to represent how nothing is permanent and that we are constantly changing throughout our lives. I then listed the elements that pertained to each theme. I later explored different kinds of things within each listed element and the various ways to illustrate them during the sketching stage.
After finalizing my themes and began the process of illustrating possible concepts I could go with, I realized that none of my chosen themes had anything to pertain to modern culture or the current state of the social climate. This led to a suit that was not conceptually interesting or one that critiqued society. Rather, I focused on aesthetics. Knowing that I was too far into the process to change the theme I was gravitating towards, I reverted my focus onto creating a composition that worked dynamically and utilized the elements of design effectively.


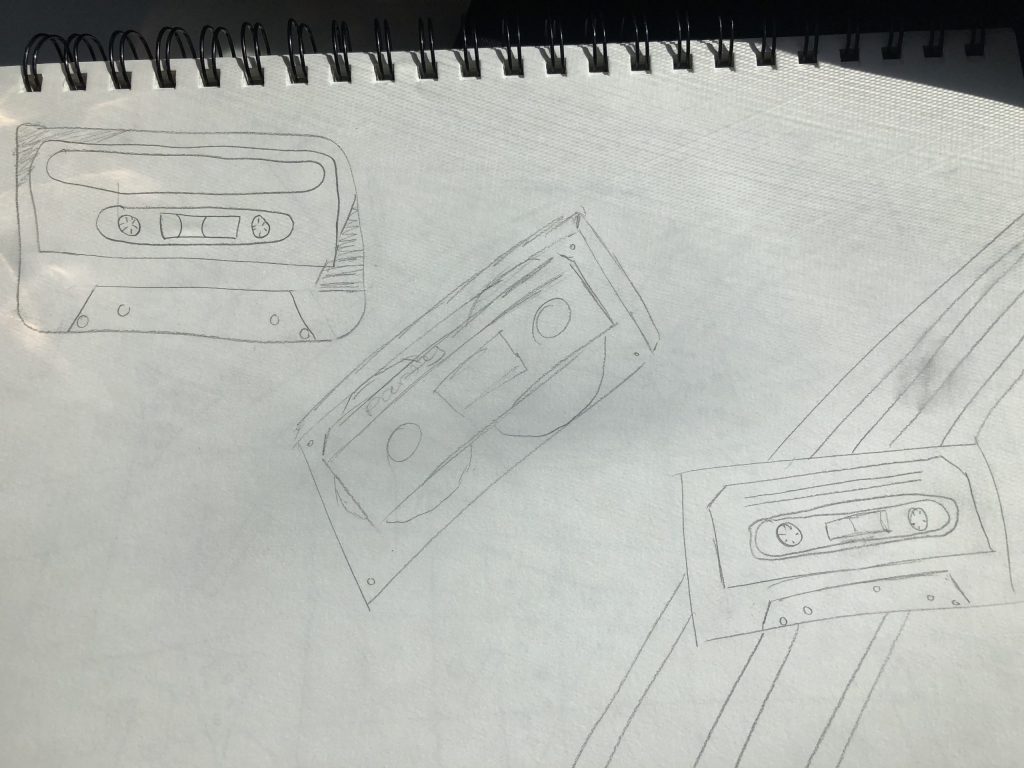
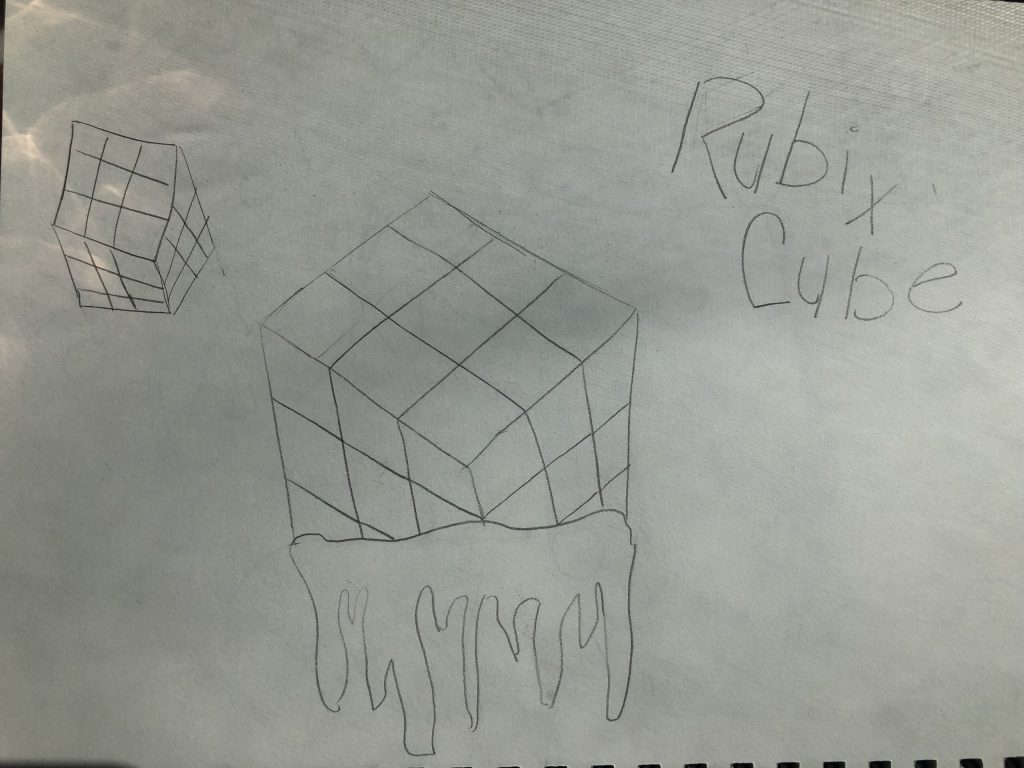
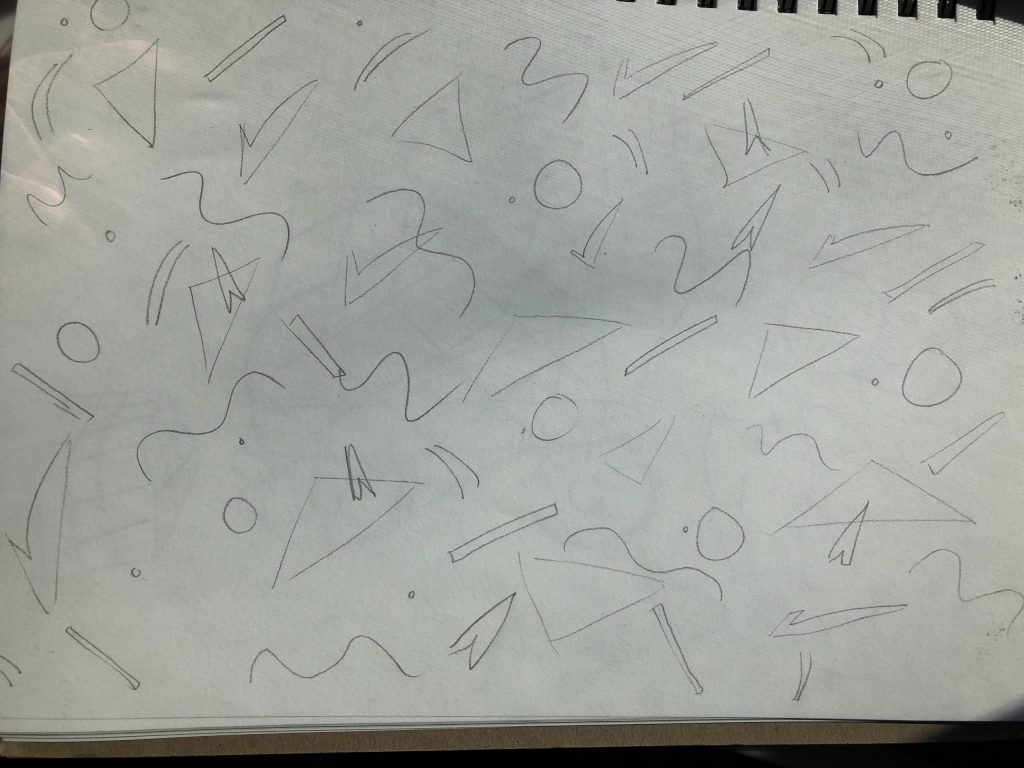
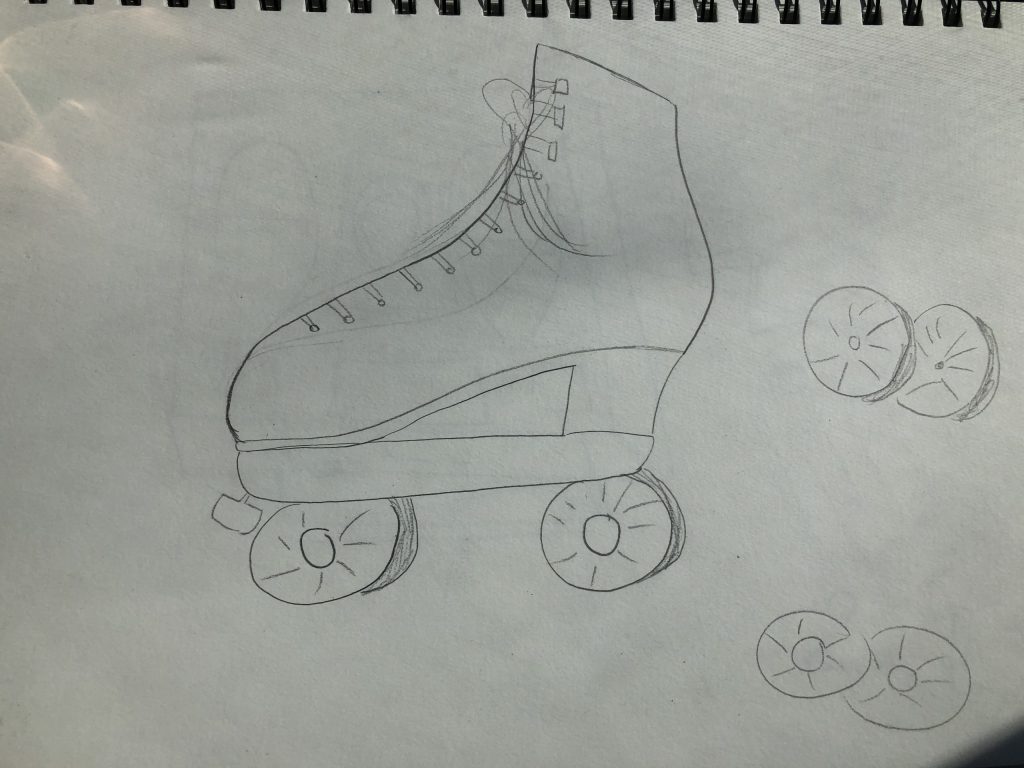
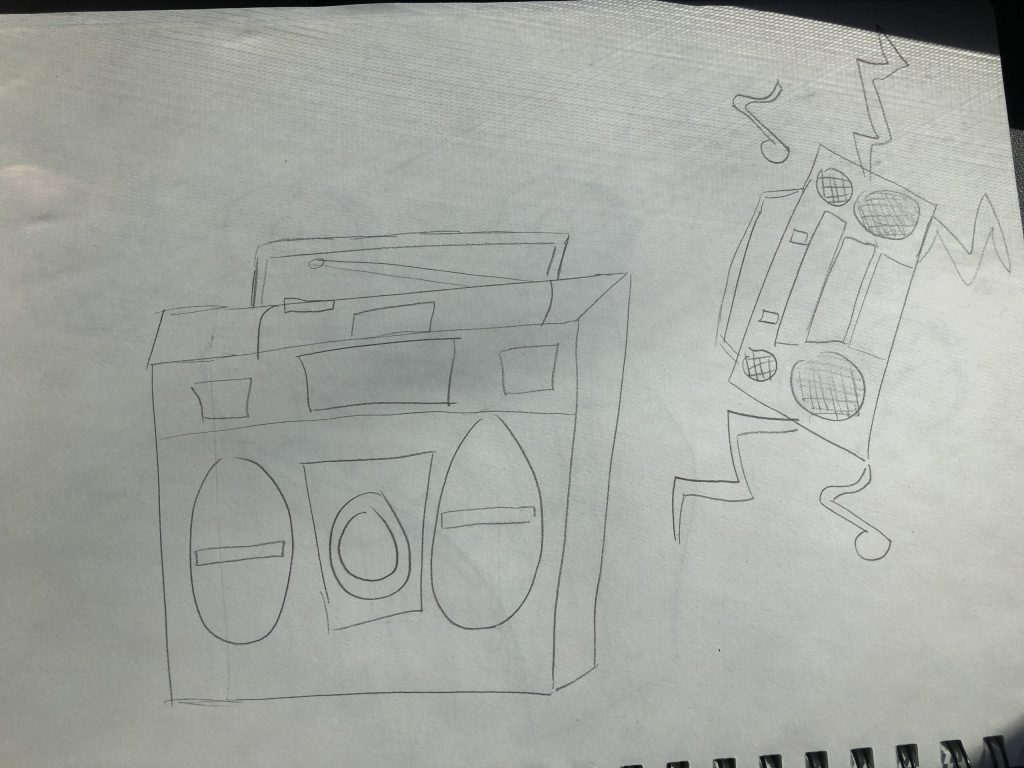
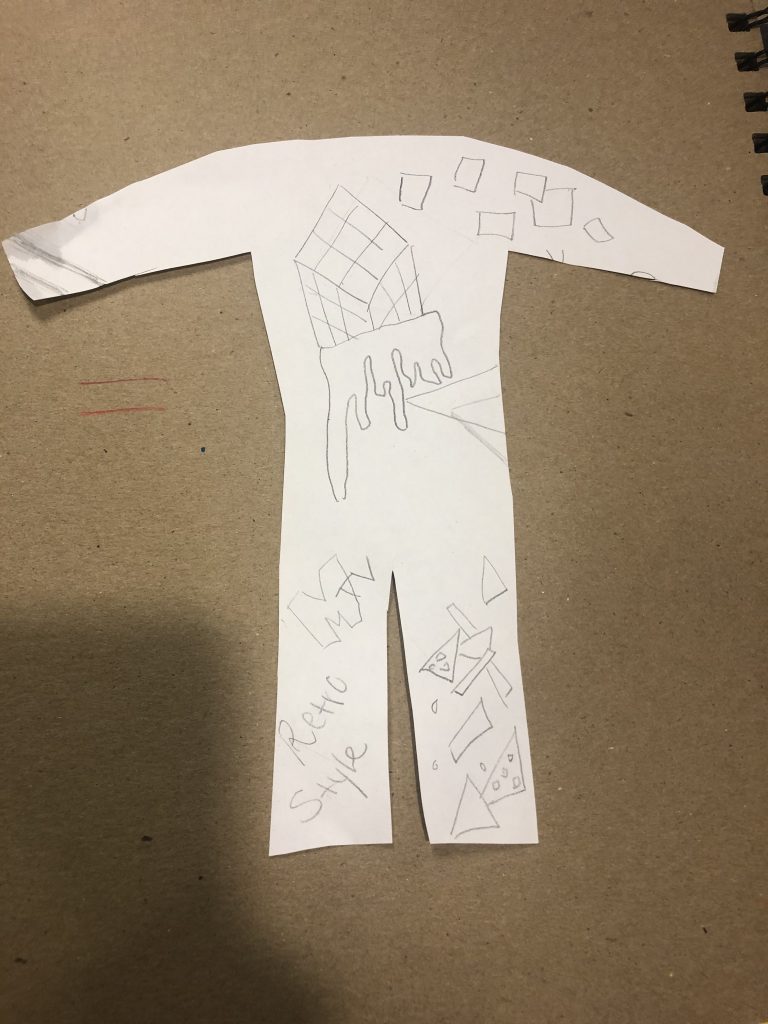
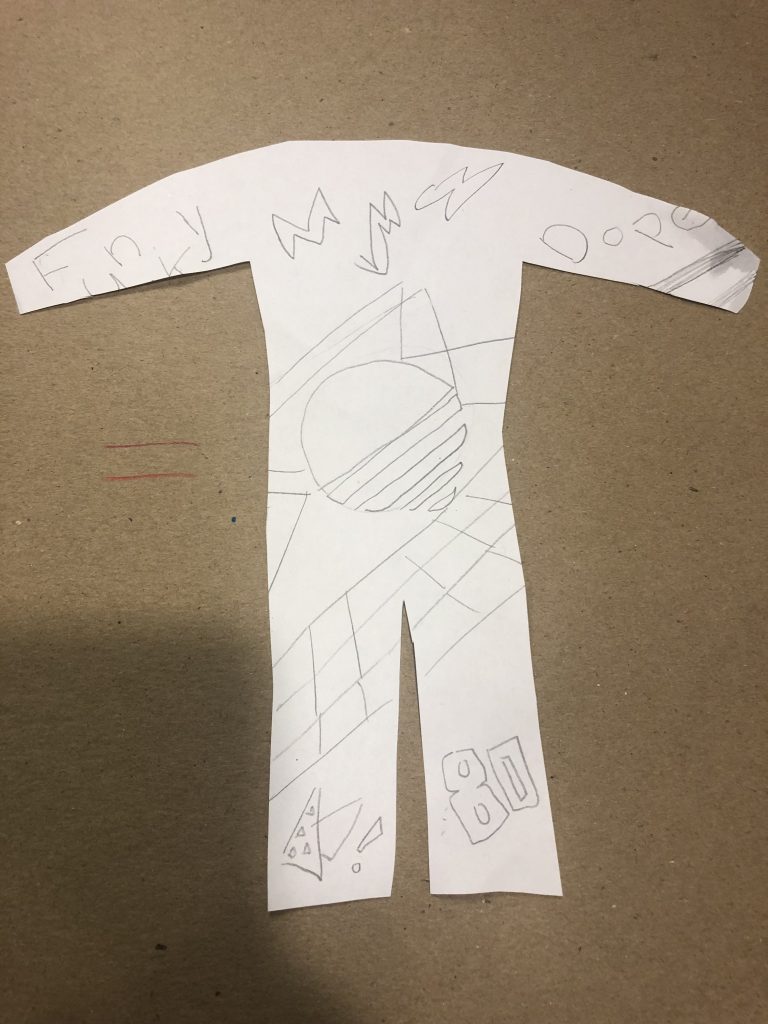
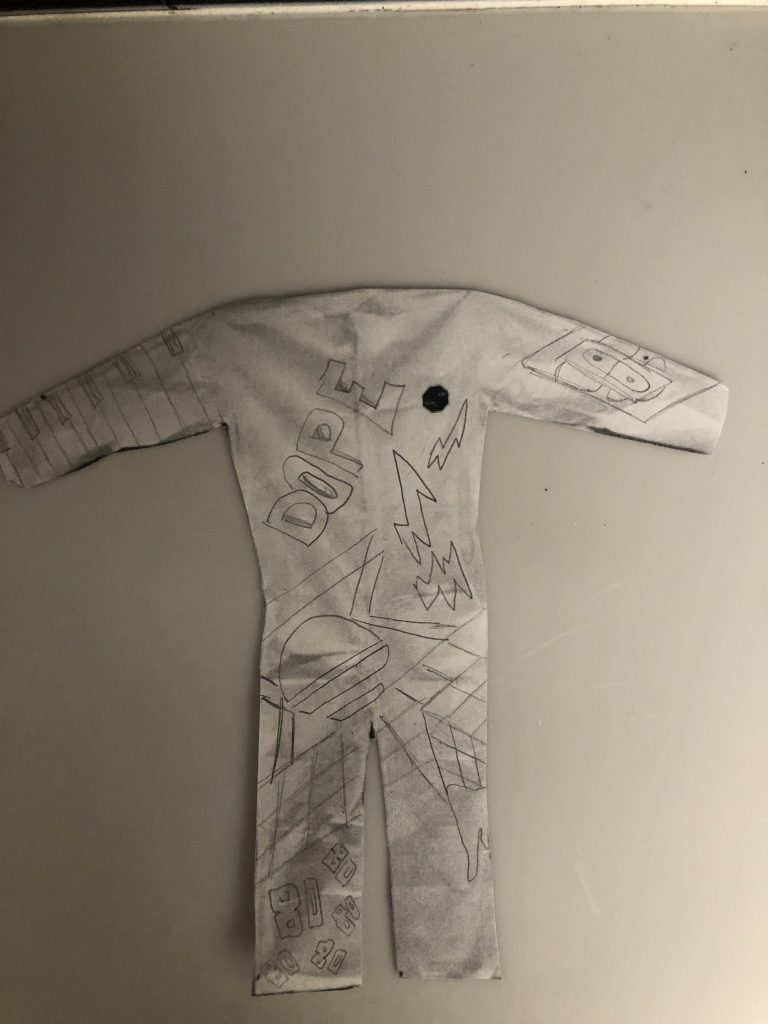
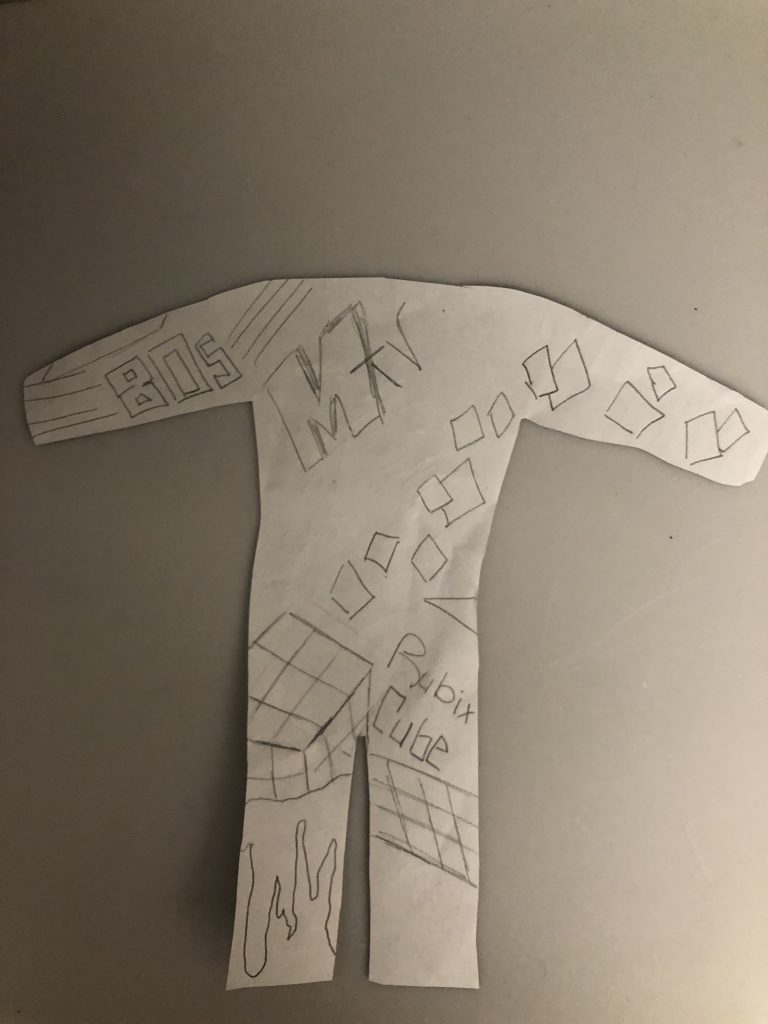
Sketches: For my sketches, I experimented with the possibilities to depict certain elements that I may want to include in the final piece. For example, I drew different butterfly wing shapes — some flying, some spanned out. The caterpillar sketch page shows various positions and activities that it could be seen doing. I explored drawing multiple types of sticks and leaves. For the race car, I played around with angels — particularly the side and front view. During this process, I was able to come up with new elements that I did not think about earlier on. Making these sketches made me realize how there are multiple ways to go about something that may be as simple or static as a piece of stick or a leaf. It challenged me to think outside the box and to look further than the basic image that pops into your head when you see or think of a word.


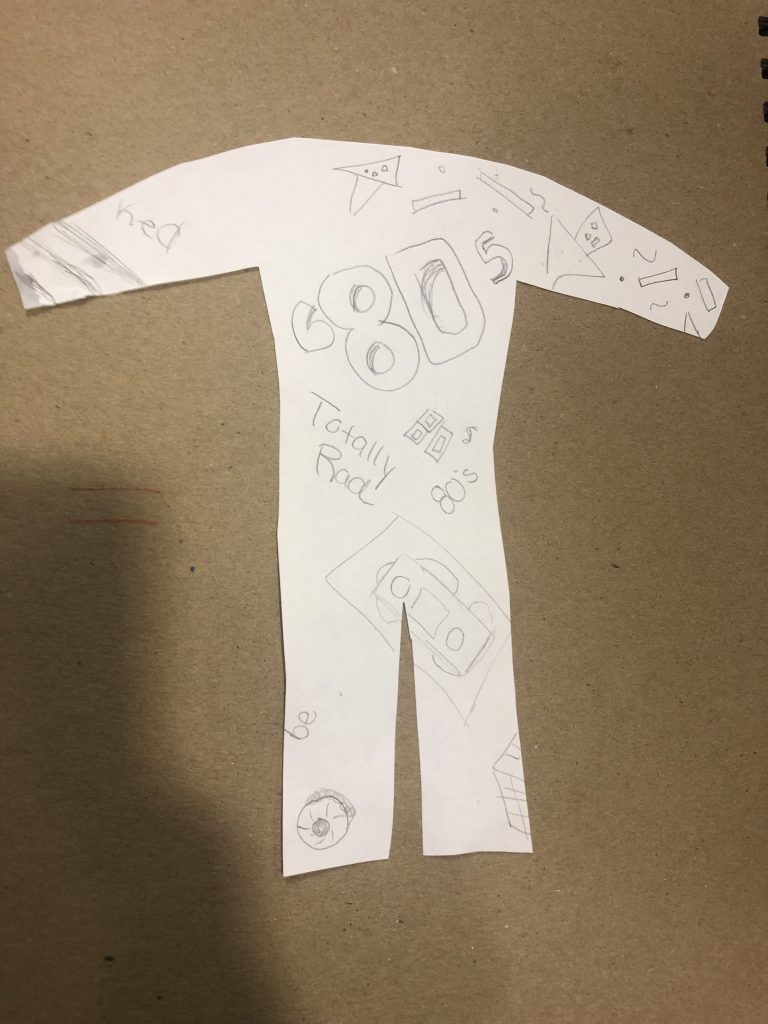
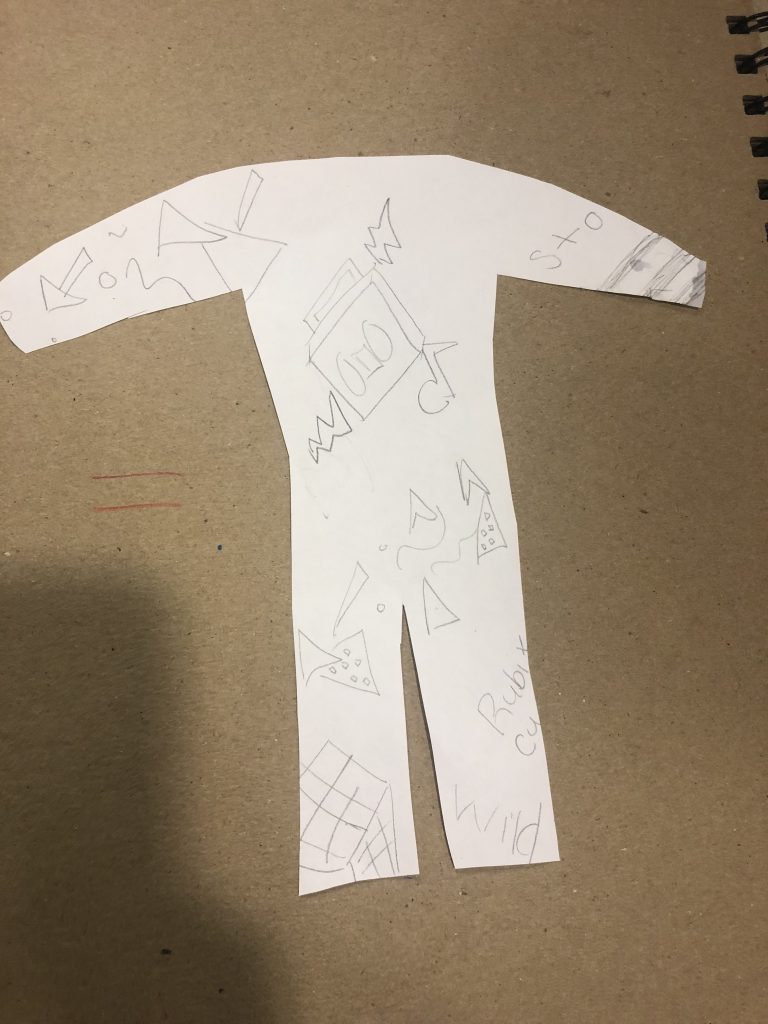
Maquettes: After doing the sketches to broaden my mind on how to go about illustrating the elements, I created three maquettes to see how the elements would be working together and how it would fit into the theme. Creating these made me see what is and what isn’t working as I got to visually see the composition as a whole which was extremely helpful in finalizing the design. More specifically, I was able to see the relationship between each object. For example, I realized that many of the elements were near or directly on the center of the suit or that there was too much weight/objects on one side of the suit in comparison to the rest of the space. The maquettes were largely useful in seeing how the objects would be placed, where it would start wrapping around the suit, and how it would function in the back in relation to the front. It was at this stage when I realized that I did not necessarily incorporate what I gathered in the sketches into the mockups so I made sure I utilized the various kinds and ways to go about drawing a certain object into my final design.
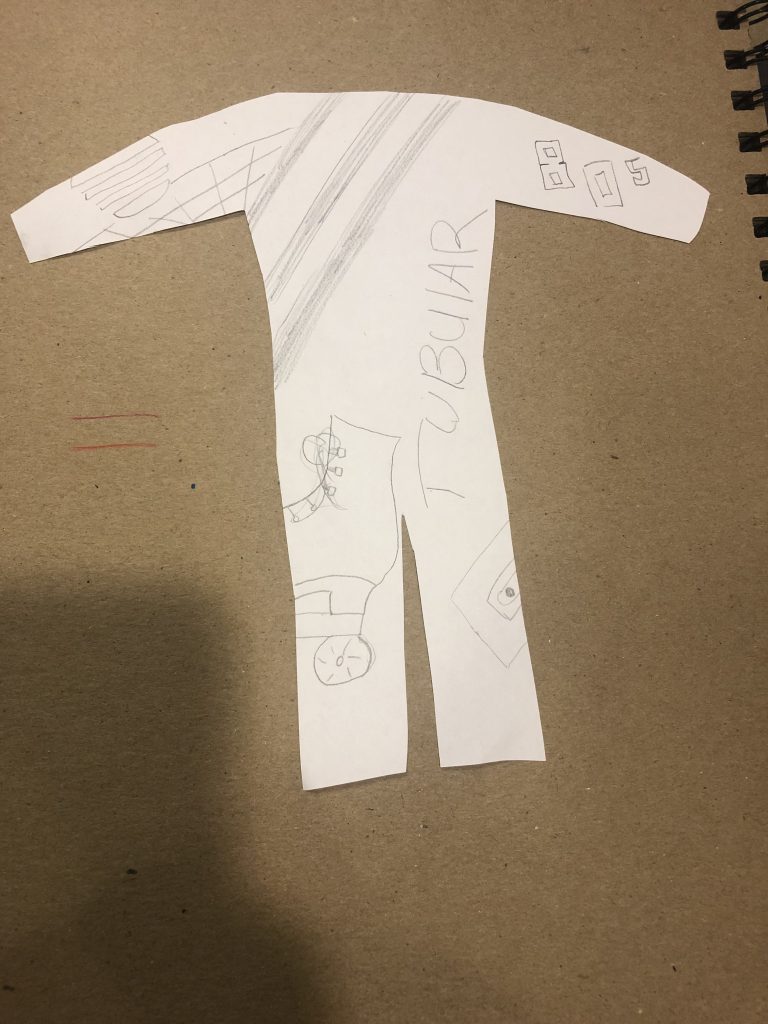
The final maquette is a revised design after realizing all of the errors or flaws in my original concepts. I incorporated different views/positions of the butterfly and made some elements more dynamic by making it diagonal rather than perfectly horizontal or vertical. I also made sure the placement of the objects was where I wanted it to be so I could easily refer to the maquette in sizing up each object on the actual suit. I also revised the concept of the theme by placing all of the butterflies near the top of the suit and the caterpillars on the bottom of the suit to represent growth.
Material studies: Before I started coloring in the clouds, I wanted to test out different illustration styles with the sharpie. At first, I thought that the filled-in cloud would work best for filling up white space and would make the design look complete. I drew this type of cloud on the right shoulder of the suit and decided that it did not work the best since it didn’t look realistic in comparison to the other objects I had already drawn out. I ultimately went with the cloud that I did in comparison to the other ones which emitted a cartoony feel. I also wanted to test out various colors for the caterpillar. Referring back to the realistic style of the suit, I went with the lime green color after researching photos of caterpillars and looking at the color that the majority of them are.
Write: Once the maquettes were done, I wrote a paragraph for each listing what was interesting or compelling about each one of them by referring to the elements of design. I thought that this was an interesting way to critique myself — looking at the good rather than the bad. The advantage of doing so is that it allowed me to see what was working and to build off of that rather than criticizing what was not working and making major adjustments/changes to the design. This method also helped me rule out which one worked the best and how the elements of design were being implemented into each design. Writing it out made me actively think about how the designs were functioning.


Reflection: The final design of the suit does not fully follow the maquette in which I was basing the design off of. The proportions of the mini suit maquette in comparison to the actual suit was a bit off which resulted in a few large empty spaces that needed to be filled. In order to figure out what objects to incorporate into the design, I looked back at my sketches that explored the different possibilities of illustrating a certain object — the leaf made the most sense as the additional item I would improvise into the design. Another instance in which something unexpected occurred is the cloud illustration that turned out to be a mistake (which was mentioned in the material studies section). Even though I made a material study for the illustration style of the cloud, I still made a poor judgment in what would look the best. In this process, I learned that even though you plan things out ahead of time, it doesn’t necessarily mean that it will turn out how you expected it to and you will have to work around those mistakes/unplanned circumstances. As a graphic design, I am used to working digitally and have many opportunities to revise and make changes. I can easily open the file and make as many edits as I want and nothing is ever fixed. This was not the case for this project where once you start coloring something in, it becomes permanent. Therefore, I found that the planning and sketching step of this project was crucial in making sure that the design came out as I had hoped.
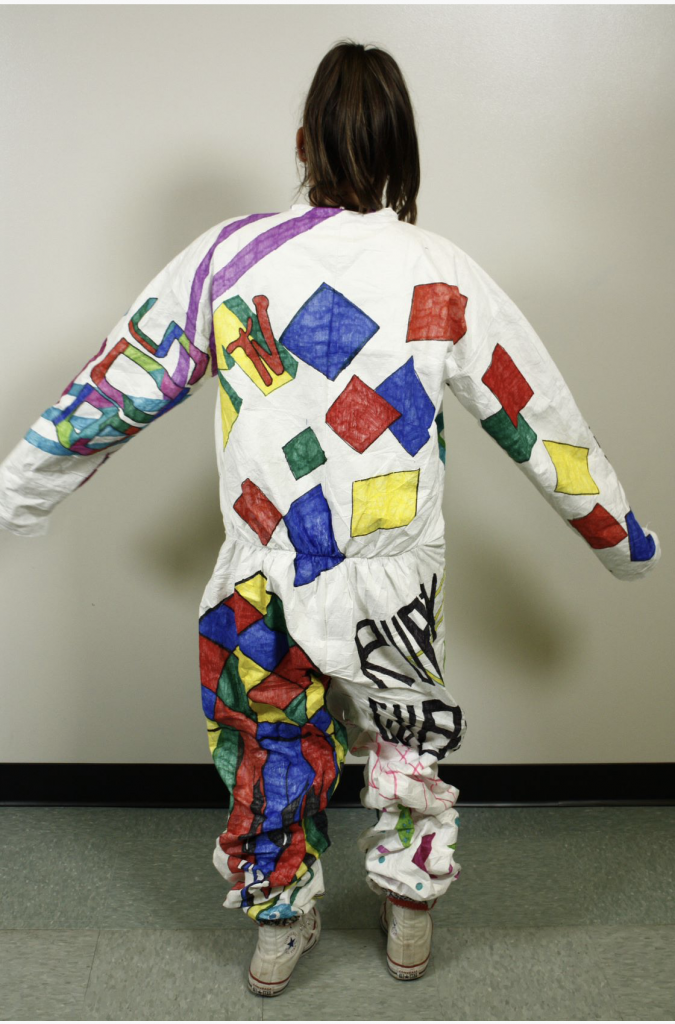
An aspect of the suit that I think works well is how I incorporated the elements of design and how the elements are repeated/contrasted in order to create a dynamic composition. The complementary colors of blue and orange contrast each other along with the size differences seen throughout all of the objects. The repetition and size variation of both the clouds and the butterflies create a pattern for the suit. The organic shape of the clouds contrasts the geometric pattern of the butterflies’ wings and the caterpillars’ bodies. It may not be extremely apparent through my interpretation of the illustration, but the rough wood texture found on the tree stick contrasts soft puffs on the clouds. The final design is not symmetrical and none of the elements are parallel or perpendicular to one another. Altogether, these aspects allow the viewers’ eyes to draw around the entire suit.
Looking at the final design, I could have done several things to improve it — one of them is adding value. I could have added colors by mixing colors. The current design is flat with its solid block of colors. I should have done a material study where I experimented with colors such as combining lighter and darker shades and incorporated this aspect into the design. Something else I would have done to improve the piece is the addition of a sense of depth. There is overlapping of the butterflies and the clouds and size differences between the objects, but I do not think it is extensive or substantial enough to create the feeling of depth. Perhaps adding a black shadow underneath the objects could have enhanced this aspect. I think the incorporation of both of these elements could have strengthened the piece and would have allowed for a stronger dynamic composition.